
 Quilt top, CHECK!
Let's piece a strip into the backing fabric!
And create the binding!
 Here's what you should have leftover from our original cutting: eight 3" strips and three 6" squares.
 You also have one lonely little block!
From these pieces we need to create both a pieced strip for your quilt back and a binding for the edge of your quilt.
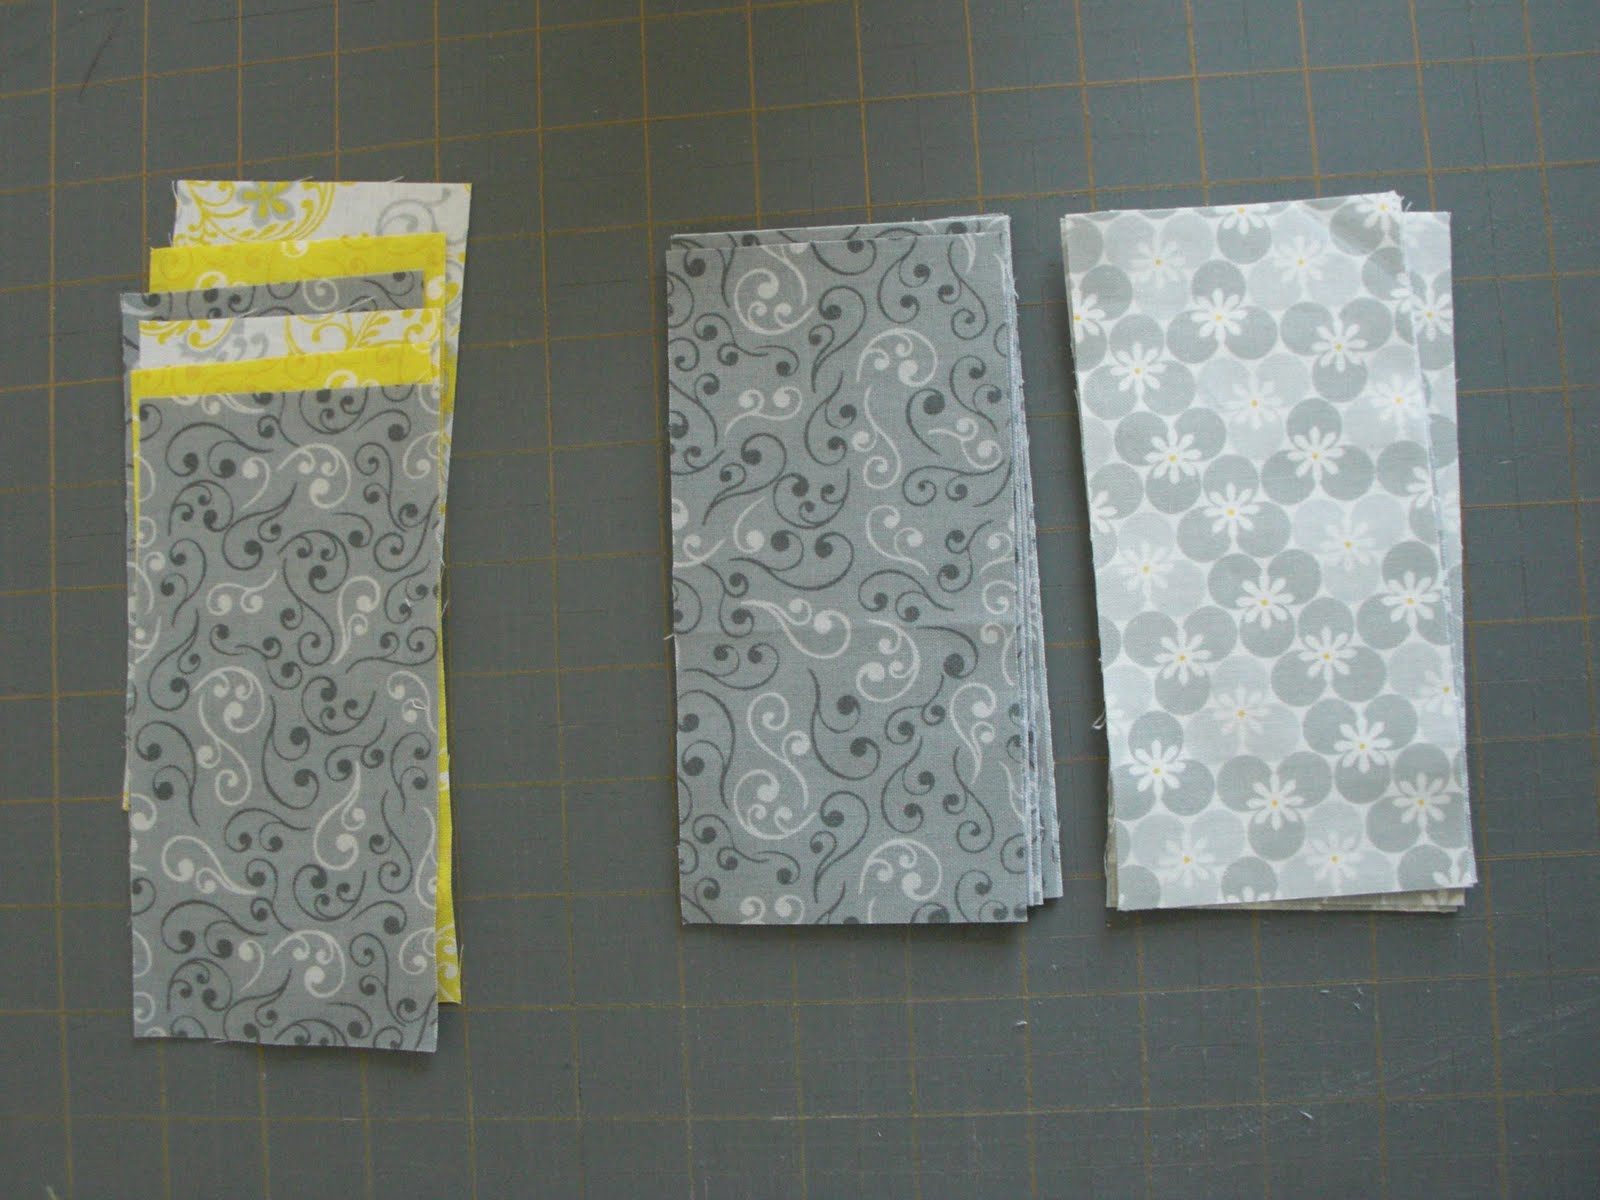 Let's start with the pieced strip for the back of your quilt. You need to cut a total of 26 3"x6" rectangles.
Remember that you need pretty much every last leftover bit of your strips for your binding -- so cut carefully!
Here's what I did: First I cut my three leftover squares in half, creating 6 rectangles. I took my two grey strips and cut them into 7 rectangles each. (I chose the grey strips because I want my binding to contrast against my quilt top, and my border is grey -- so the grey strips move to the back!) I then cut one rectangle from each of the six remaining strips. This gave me a total of 26 rectangles -- exactly the number I needed for my pieced strip!
(You could also utilize that leftover quilt block -- just bust out your seam ripper and free those two rectangles, and cut the square in half.)
 Lay out your 26 blocks in whatever order you like.
 Sew them into one long strip -- you are sewing the long edges together -- and press all the seam allowances in one direction. Set your strip aside.
 Get out your backing fabric!
Carefully remove your selvages using your rotary cutter, ruler, and mat. Cut straight!
 Layer one long edge of your backing fabric right sides together with your pieced strip. Sew, using a 1/4" seam allowance, then press your seam towards your backing fabric (so the seams of your pieced strip lay flat -- don't try to fight them!)
 Next, sew the other edge of your strip to the opposite long edge of your backing fabric. YES, you ARE creating a long tube!!
 Now you need to decide how far away from the edge of your quilt back you want your pieced strip to be. I decided to put mine approximately 8" from one side.
Working on your ironing board, fold your gigantic backing "tube" so that the folded edge is 8" (or whatever you want your measurement to be) from the stitching on your pieced strip. Pin the folded edge to your ironing board. Work your way along the edge, re-measuring every 6" or so to make sure you are getting a consistent 8" measurement the whole way down, and continue pinning the fold to your ironing board about every 6". (Your entire quilt back won't fit on your ironing board -- just go as far as you can until you run out of room.)
 Press that fold line!
 When it comes time to shift your backing over on the ironing board to finish creasing your fabric, remove your pins from the ironing board and replace them through both layers of your quilt, as shown. Finish measuring, pinning, and pressing the remainder of the length of your backing. Again, when it comes time to remove your backing from the ironing board, throw in a few pins so you can keep that fold.
 Take your backing to your cutting board and skim of that little folded edge with your rotary cutter!
 Ta-Da! Your quilt back is done!!
Now you can prepare your binding -- it's easy!
 Sew your remaining strips together, right sides together with a 1/4" seam allowance, to create one long strip. Press the seams OPEN.
 Fold your strip with the long edges together, WRONG SIDES TOGETHER, and press the whole length of the strip.
DONE!
Your quilt top is done!
Your quilt back is ready!
Your binding is even put together!
NEXT UP: The part everyone seems to be most afraid of!
~Q~U~I~L~T~I~N~G~
! ! ! ! ! ! ! ! !
10 comments:
I always wondered hoe those cool and creative backings were put together!
A question oh quiltmaster--I'm using different material for my binding--How wide should the strip be--and just out of curiosity how long is each piece?
OMG that's exactly what I just did to make the backing for my own first quilt ever! Just pick a width and length of whatever you want, or in my case, scrounge for any scraps you can find no matter what the width and use them! It's called being creative when you miscalculate and don't buy enough fabric.
Okay--duh--3" wide strips--and I guess it doesn't really matter how long each piece is--but how long should the entire strip be?
Hi Megan!
Measure your short side and your long side, add them together and multiply x2, then add 12" to account for corners and for a little "wiggle room" when attaching your binding -- and that's how long you want your binding to be!
Thanks Care--Measuring around the quilt top to get the measurements--what a novel idea! Sometimes I think it's harder than it really is. Will be doing the back and binding today -- and then on to the really "scary part" -- QUILTING!
love the colors you picked out
I love the fabric and colors of this quilt and a great tutorial. I am taking a beginner quilting class this week. I caught the fever.
Please stop by my blog to pick up your award.
http://craftybrooklynarmywife.blogspot.com/
Back done! Binding tomorrow!
Post a Comment