 Here's my entry for Spring Top Week at Made by Rae. Yes, the deadline is one hour away! Yes, I only started it this morning! And YES, the only way it ended up getting done was because Susan sat next to me and practically forced me at gunpoint! (ha ha! Really though, Susan, THANKS for your help -- it is the only way it was ever going to happen!)
Let me just say, sewing apparel is not my strong point. In fact, it scares the living daylights out of me! But I SURVIVED! And I think my top is wearable!
Then, of course, being loopy and crazed after surviving the creation of this top whilst juggling, wrestling and wrangling five children (who may or may not have watched two movies during the process), we had a very goofy "photo shoot" outside in the wind. Hey, you've gotta take ADVANTAGE of wind in a photo shoot, right??
 ...somewhat embarassing...


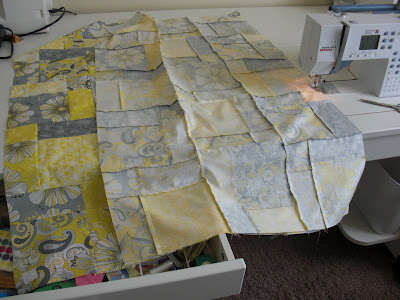
 Take the pair furthest from you and snip the threads. Open the pair of blocks, keeping the end you just snipped towards yourself. Snip the second pair and open it, again keeping the end you snipped towards yourself, and place it to the right of your first pair.


