
 Need something quick and pretty to dress up a gift card or present? Something that could be a secondary gift? This is just what you need! A quick, simple, INEXPENSIVE, pretty little pin!
 SUPPLIES:
~ silk flowers (dollar store!!)
~buttons
~ pin backs ($1.30 for 10 at JoAnns)
~ tough scissors (I use kitchen shears)
~ hot glue gun
My flower pins ended up costing about $0.25 each!!
 STEP ONE: Deconstruct your flowers. You will be using only the petals. (But save that greenery for our bonus project!!*) I've found that the easiest way to take them apart is to first cut the stem as close to the bottom of the flower as you can.
 This makes it extremely easy to pop the flowers apart and pull the petals free.
 (My particular flowers were two-layered, but had three different sizes of petals... Go figure!)
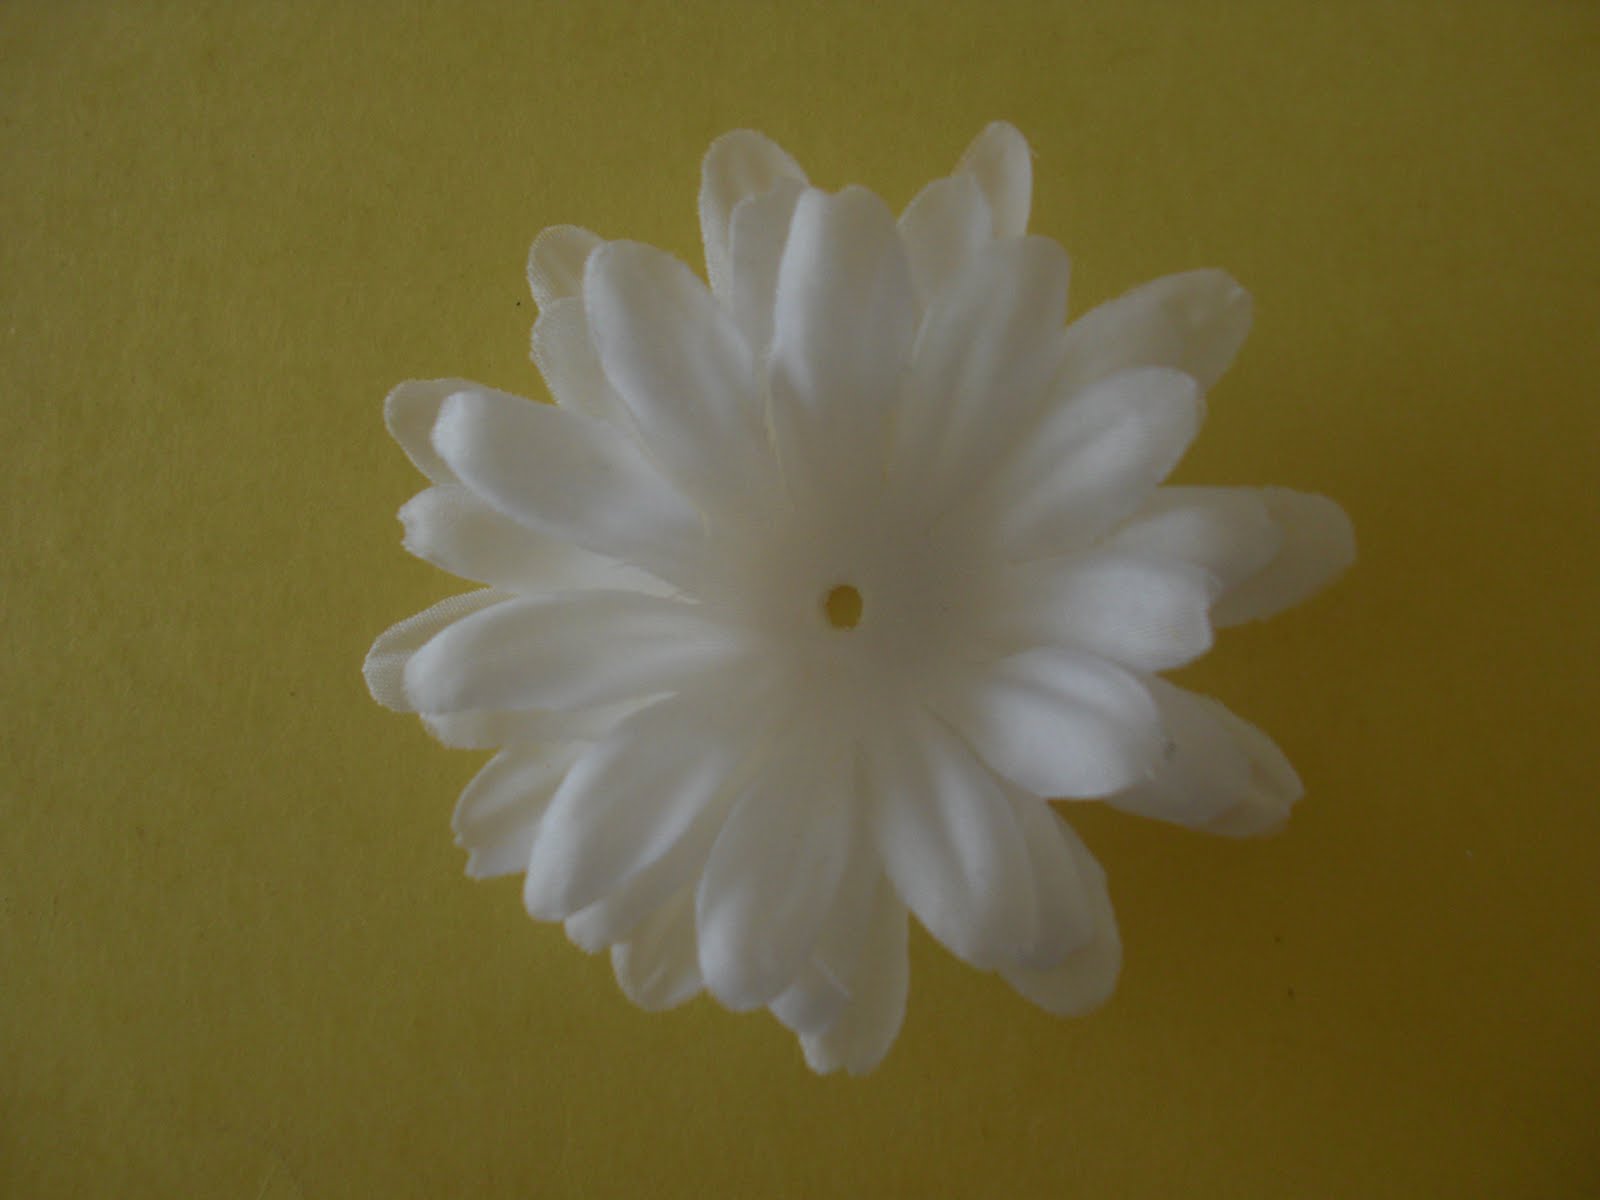 STEP TWO: Layer three sets of petals on top of each other, shifting each layer to make the flower look more "full." Hold them in place with small dabs of hot glue in the centers.
 STEP THREE: Pick a button you like for the center. I auditioned a handful of different buttons before settling on this pretty vintage shank button. You may have to use a fairly large amount of hot glue to get it to hold in place at the angle you like.
 STEP FOUR: Apply hot glue to the pin back. I fold up a piece of paper to slide between the back of the pin back and the pin side. This makes it easier to hold, will keep glue off the pin shank, and will help prevent burning your fingers!
 STEP FIVE: Apply the flower, hold for a few seconds, and slide the pin off the paper before the glue cools so the paper won't be permanently stuck to it.
You're done!
 Pin it to a gift bag...
 ...or the envelope to your card!
It's a pretty little decoration for your present -- that doubles as another little gift!
 (This one is my favorite!!)
 Here's a little before and after of a pin I created from 2 1/2 flowers. It looks like a peony -- one of my FAVORITE flowers!
 *Here's our bonus project! Turn the leftover stems and greenery into plants for plastic dinosaur play clay landscapes! My boys LOVE this project!!
16 comments:
These are really really cute ideas!!!
never guessed the bonus project!!!! :D
Great simple idea!! I think I actually have all the supplies already...except for the plastic dinos...my son isn't into dinos.....yet! :)
fabulous! i have a toot on my blog with a pin like this but a felted/beaded center! i love the idea of reusing the plastic greens for the dinosaurs...perfect!
I love this. Very cute.
Cute! Great idea.
That is a great idea about what to do with the stems. My stepson will love the greenery for his soldiers' battlefields! PS - the pin is wonderfully cute too.
Just a quick note to let you know that a link to this post will be placed on CraftCrave today [18 May 02:00pm GMT]. Thanks, Maria
So clever! The sunflower with he black button is my favorite :)
Jana
Complete awesomness!!!!
Thanks for sharing the how-to.
those are too cute care! I'm the worst when it comes to wrapping a package, but these little puppies would make such an easy and fun addition!
I love your silk flower project! I have been having fun making something similar for my daughters but putting the flowers on bobby pins and headbands. They're so much fun to make aren't they?
I like the peony-style one - is there a button or something in the middle too?
Hi goldfine,
No button -- I simply took each layer of the silk flower and folded it into quarters, then hot glued them all together at the folded corner. (I think I used four or five folded petals.) I then glued them all to two flat layers, which I used as a base, then glued the pin onto the back. It was lots of fun to do!
Care.
So cute. I just made some. I posted it on my blog. Check it out.
Ali
foundintheali.blogspot.com
*following :)
I've been making tons of these! Thanks for the idea!
Post a Comment