I'm happy to report that my plush Angry Birds and pigs were a GRAND success on Christmas! My boys were absolutely thrilled!
Here are the patterns for the remaining birds. The basic construction is, of course, the same as the others.
You can find detailed instructions on the post for the original red Angry Bird.I also have patterns for the blue bird, yellow bird, and pig. 
Green Bird -- a.k.a. "the flying backwards guy," as my boys call him!
What you need:
small amounts of the following:
~ green fleece
~ white fleece
~ black fleece
~ orange fleece
and:
~ fiberfill stuffing
~ free-motion foot (optional but highly recommended~)
~ pattern (click here!)
The green bird is constructed just the same as the original red bird, but you construct his beak in two pieces. On the game, the green bird has a bit of yellow under his beak. I meant to applique a small yellow circle to go under his beak, but ended up forgetting.
 White Bird
What you need:
small amounts of the following:
~ white fleece
~ tan fleece (for tummy)
~ orange fleece
~ black fleece
~ yellow fleece (for cheeks)
and:
~ fiberfill stuffing
~ free-motion foot (optional but highly recommended!)
~
pattern (click here!)
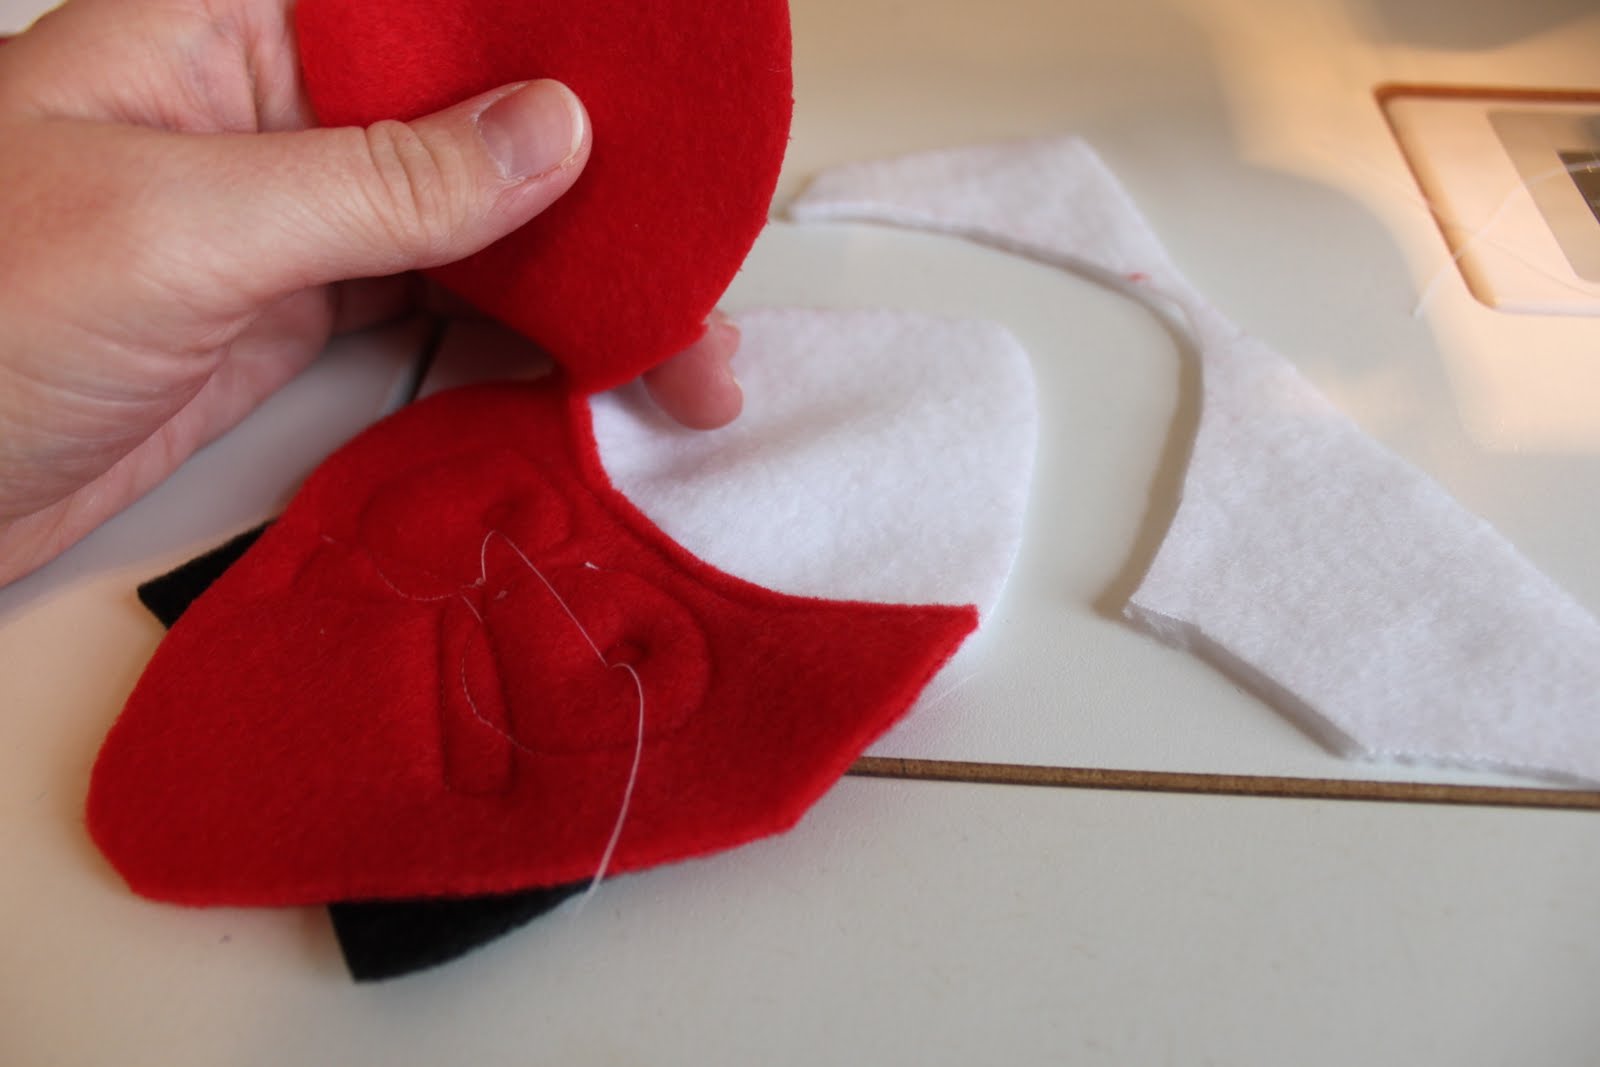
The white bird is egg-shaped, so the pattern is a little bit different, but it is still constructed the same way. He's a bit trickier in the face. You will note on the pattern that on either side of his face there are two stars marked. You will sew only between the two stars on either side at first. That way you can applique his eyes on before fully constructing his body -- then finish up the seams. I chose to put his tail in the side seam, as you can see, as if he were looking to the side. You could also opt to hand sew it on the back of him instead, if it bugs you to have it on the side.
His beak was tricky -- I really finagled it and pinned like crazy as I sewed it on, so I could get the look I wanted. Luckily fleece is very friendly to work with in that way -- you can make it do just about anything you'd like!
 Black Bird -- a.k.a. Bomb Bird!
What you need:small amounts of the following:
~ black fleece
~ white fleece
~ orange fleece
~ dark grey fleece
~ yellow fleece
and:
~ fiberfill stuffing
~ free-motion foot (optional but highly recommended!)
~
pattern (click here!)
Construct him the same way as the red bird -- with just a little more detail on the face. The larger you go with those four panel balls, the less "roundy" they start looking -- especially dependent upon what kind of fleece you use. This was the less stretchy, almost more felt-like fleece. You could achieve a better, more round look with better fleece!
His beak is constructed in two pieces. First I put together and sewed on the upper beak. Then I constructed the lower beak and (before stuffing it) hand sewed just the top edges to the bottom of the upper beak. Then I stuffed it and sewed it into place on the bird, again with a little finagling to get the look I wanted. I'm especially happy with his beak!

Of course I had to whip up a few eggs -- including golden eggs, of course! There are a few patterns available on the web, and I cannot for the life of me find the one I used!

I ended up adding a crown to my
pig to create a king pig. I cut a crown shape from a piece of super heavy interfacing, starting with a 2 3/4" x 8 1/4" rectangle. I folded it and cut four points. I then sewed a yellow fleece "slipcover" for the crown, turned it right side out, stuffed in the interfacing, and hand sewed the bottom opening shut. I sewed the two ends together, then pinned and sewed it in place on piggy's head. I really like how it turned out. I thought about using craft foam or some other shortcut-type material, but really I love having it made from fleece -- since everything else is!
Note: Yes, I know the king pig on the game has the crown more on the side of his head -- but I just like it better like this! :o)

And, last but not least, I couldn't help but create a few baby pigs! They are my very FAVORITE of all the Angry Birds plushies I made -- and they are my boys' favorites too! :o) Here's a
pattern (click!) if you'd like to make some baby pigs! He is constructed the same as
original pig.
That's it for my whirlwind wrapup of the Angry Pigs plushies! I have LOVED seeing all your Angry Birds creations in my flickr group -- please keep posting photos!
Enjoy!

 It's done! And I love it! A quilt made from 100% black background I-Spy squares!
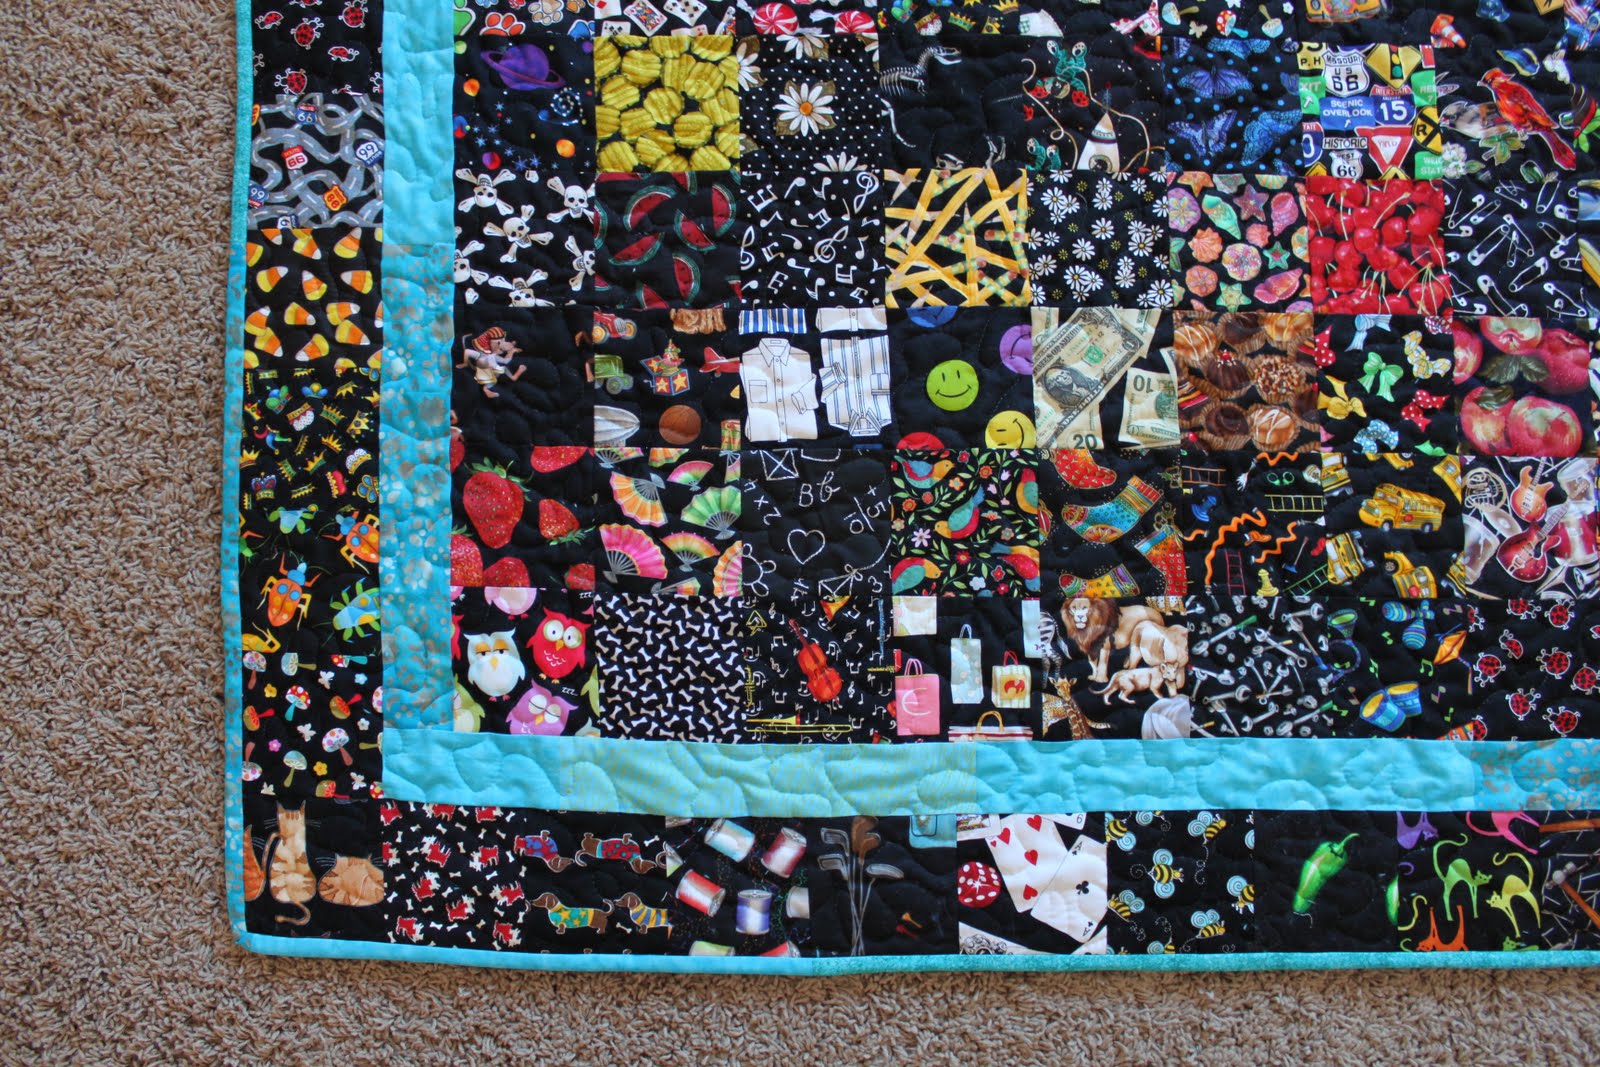 The bright turquoise-y blue came from my stash. It's four different prints, all in the same color. I even ended up with exactly enough left over to do the binding.
 I backed the quilt with a luscious piece of fuzzy Ultra Cuddle from JoAnn. The color is a perfect match. And, get this -- when I got to the cutting counter there was EXACTLY enough left on the bolt to fit the back. And it was on sale! I even had a leftover piece of batting at home, also the exact size I needed. Serendipity!